
Photographing in the Dolomites part 1 - What to bring (Spoiler; Canon R5!)
A blog about photography
In this series, I’m going to tell you want I brought, where I went and how I photographed the most beautiful scenes the Dolomites have to offer.
In this series I’m going over the following subjects
What to bring
Drei Zinnen area
Alpe di Siusi | Mont Sëuc
Church of St. John in Santa Maddalena
What to bring to the Dolomites
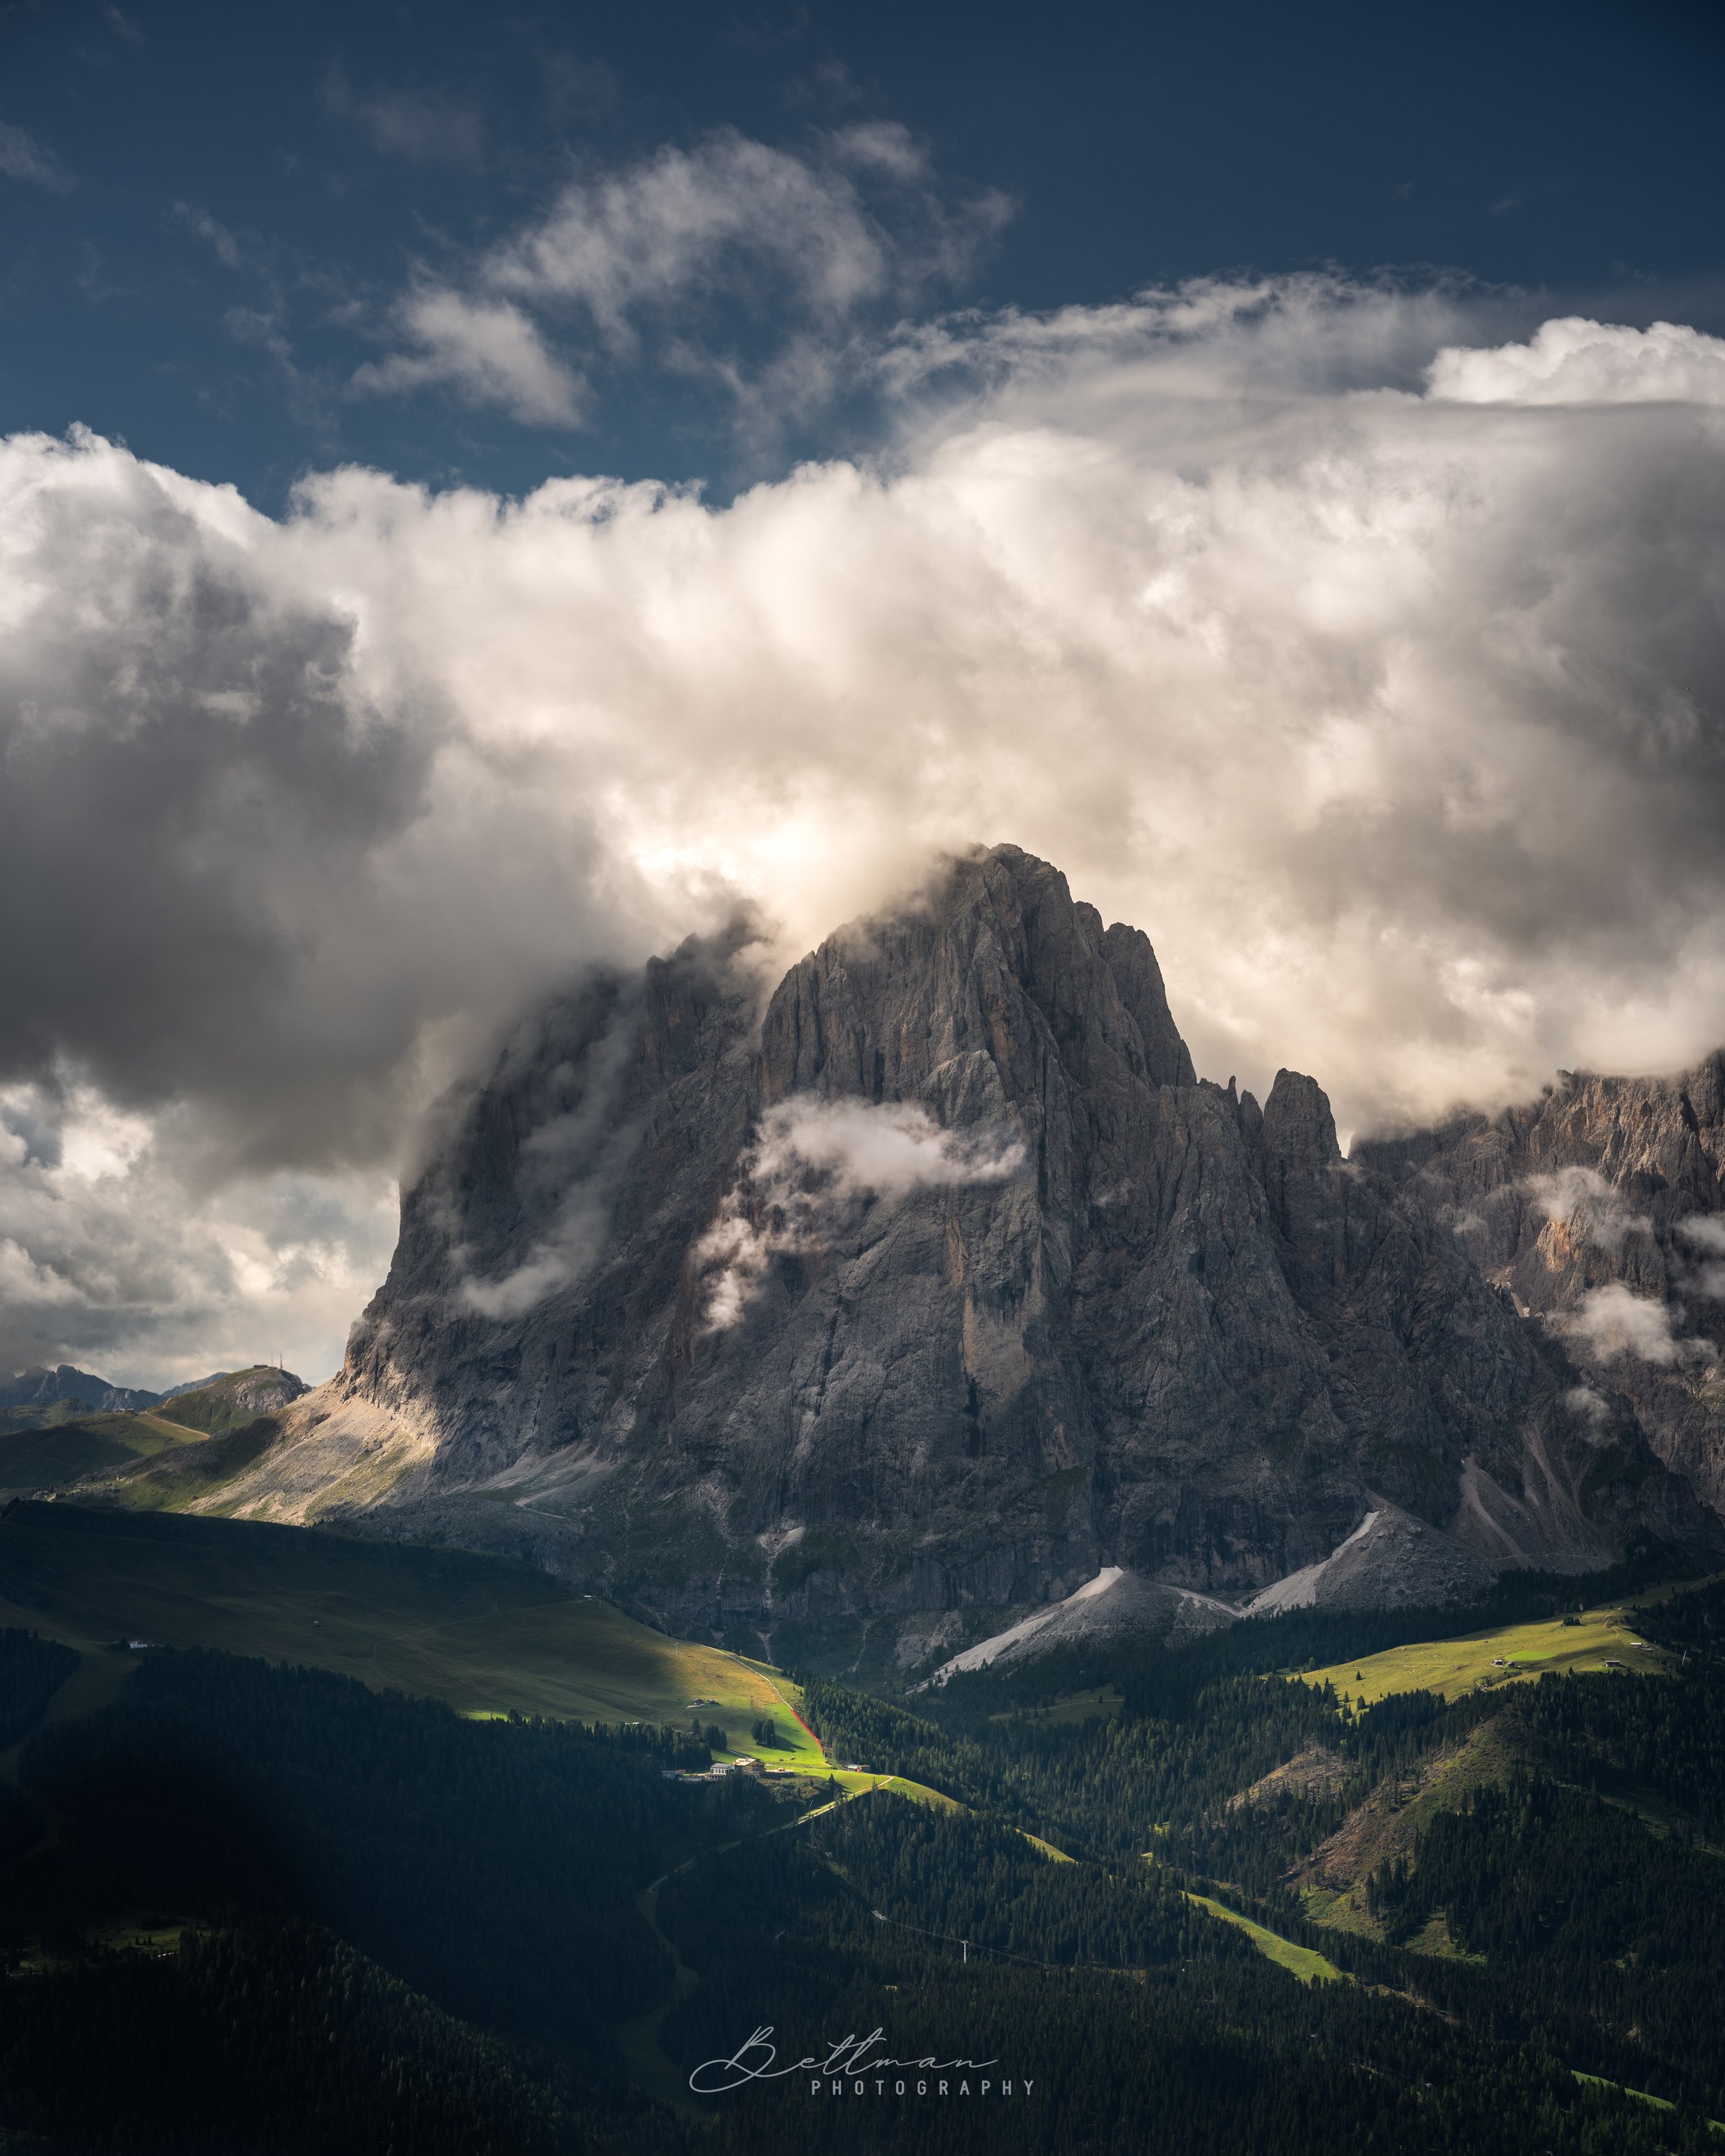
First things first. The Dolomites is a big mountain range in Italy, which is part of the Alps. Typical for the Dolomites are the steep rock walls and peaks. Therefore, good hiking shoes are absolutely necessary, but also good socks will help you avoid blisters.
Now you have packed your hiking shoes and socks, let’s get to the important part. The reason you’re reading this. What did I bring to the Dolomites for my photos and videos, but first let me go over other hardware and other electronics I have brought to the Dolomites.
For storage and content back-up I have Asus 14” laptop. This laptop isn’t the best, but it has a 4K screen, it’s very light (<1kg) and it’s fast enough the run Adobe Lightroom and Adobe Photoshop. Furthermore, I have also 4 different external harddrives with a total storage of around 15TB. Overkill? Absolutely, but in the end, it was nice to know I have backed up everything at least twice. You just don’t want to get back home and see all your photos and videos are gone due to corrupt hardware.
To summerize:
- Asus Zenbook 14 UX5401EA-L7106W for editing
- LaCie 5TB external harddrives with the orange protection sleeves.
Camera gear: Tripod
The best friend of every landscape photographer is his tripod. It goes everywhere with him or her and it needs to be sturdy and high enough to work with. With the weather changes the mountains can trow at you, you need to be prepared for everything and your tripod needs to be perfectly still at every moment of the day and night.
For my tripod I use the LEOFOTO SUMMIT LM-324CL CARBON FIBER TRIPOD.
This one is huge and it can do everything I want it to do. It can reach up to 2m (7ft), it can hold up to 25kilo (50 pounds) of camera gear, but the best part of this tripod is, is that I can work on head hight while being on a steep edge. That’s just brilliant!
Example of what a polarization filter does.
Camera gear: Filters
For the mountains, and basically every landscape photographing location, a circulair polarization (CPL) filter is a must have. With this filter, you’ll cut through glare, a blue haze or reflection on the water, but it also increases the blueness of the sky and the greens in the forest.
The last few years I have used the NiSi CPL V5 filter and it has treated my very nicely. This filter is also indestructible as I have dropped it multiple times by now on about every surface you can imagine. The biggest reason I really needed the CPL is because you’ll get a blue haze when you’re in the mountains. With the CPL you can cut through that blue haze and you’ll end up with (or close to) the normal colors of those beautiful mountain peaks.
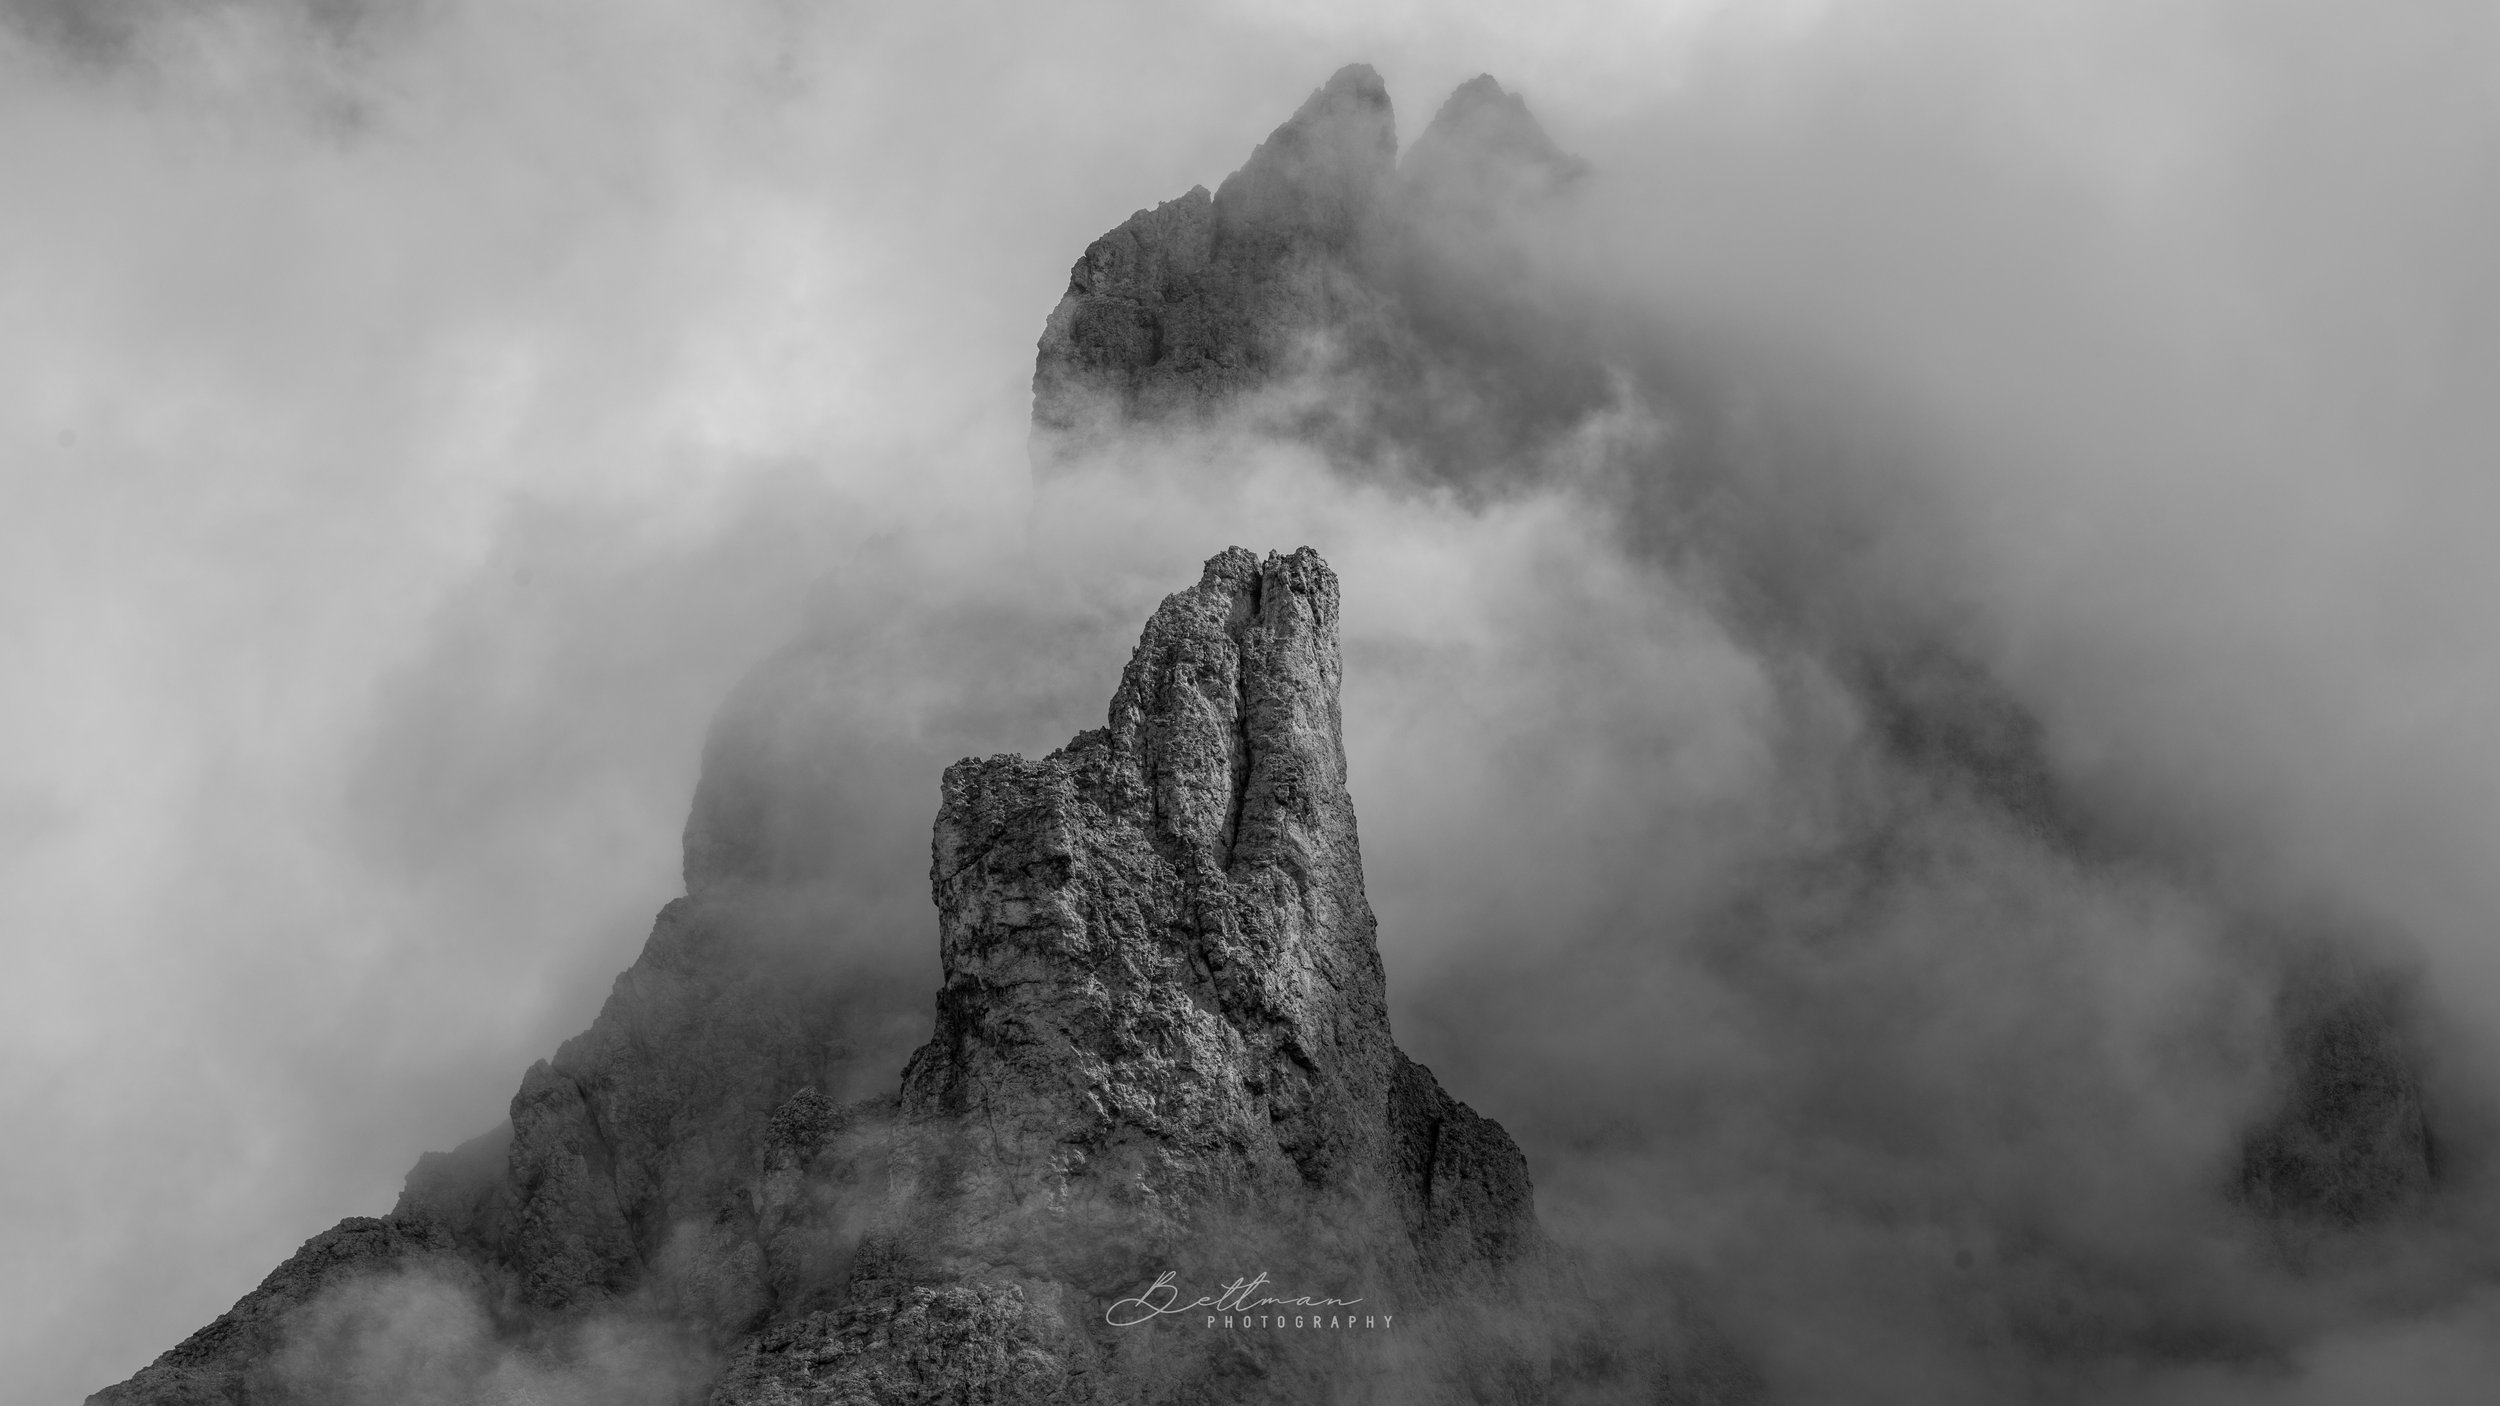
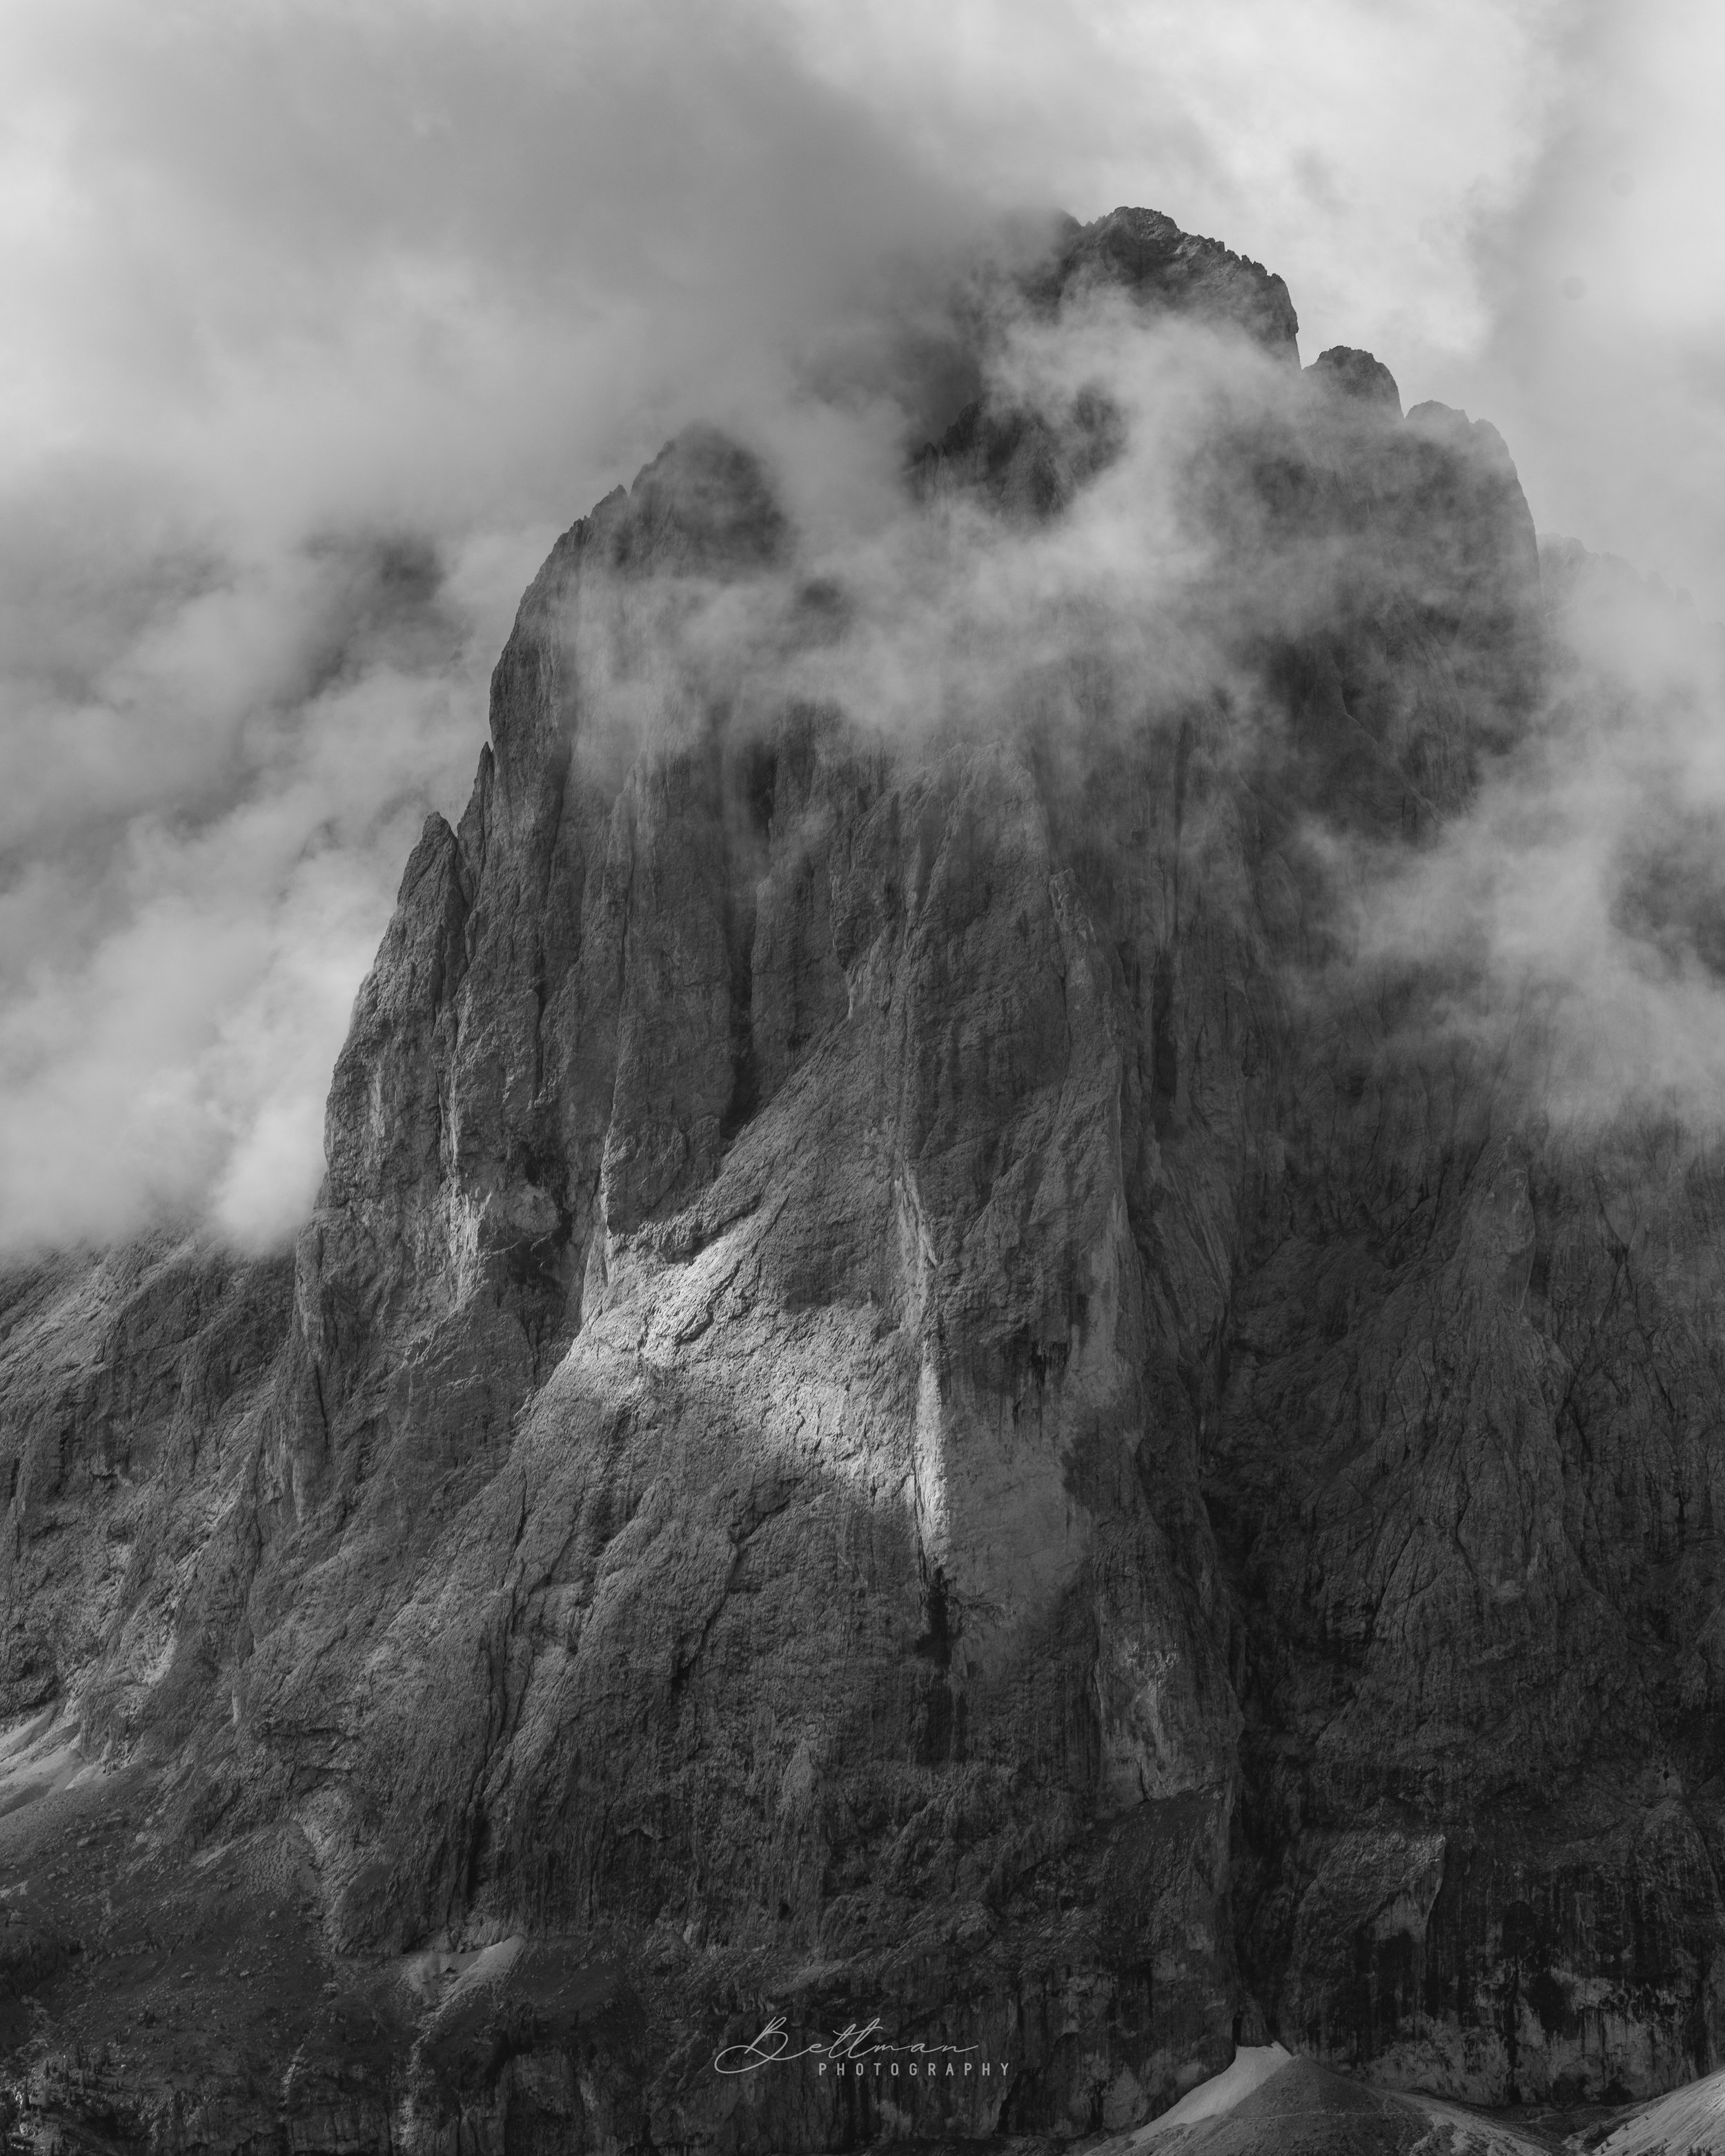
A lone mountain peak above the clouds.
200mm at F5.6 and ISO100.
Camera gear: Camera & lenses
Now, the camera I have used for this trip is a Canon R5 and 3 beautiful lenses. Thanks to Canon for loaning me this sit!
This is the complete set:
Canon R5
Canon RF 15-35 F2.8
Canon RF 24-105 F4
Canon RF 70-200 F2.8


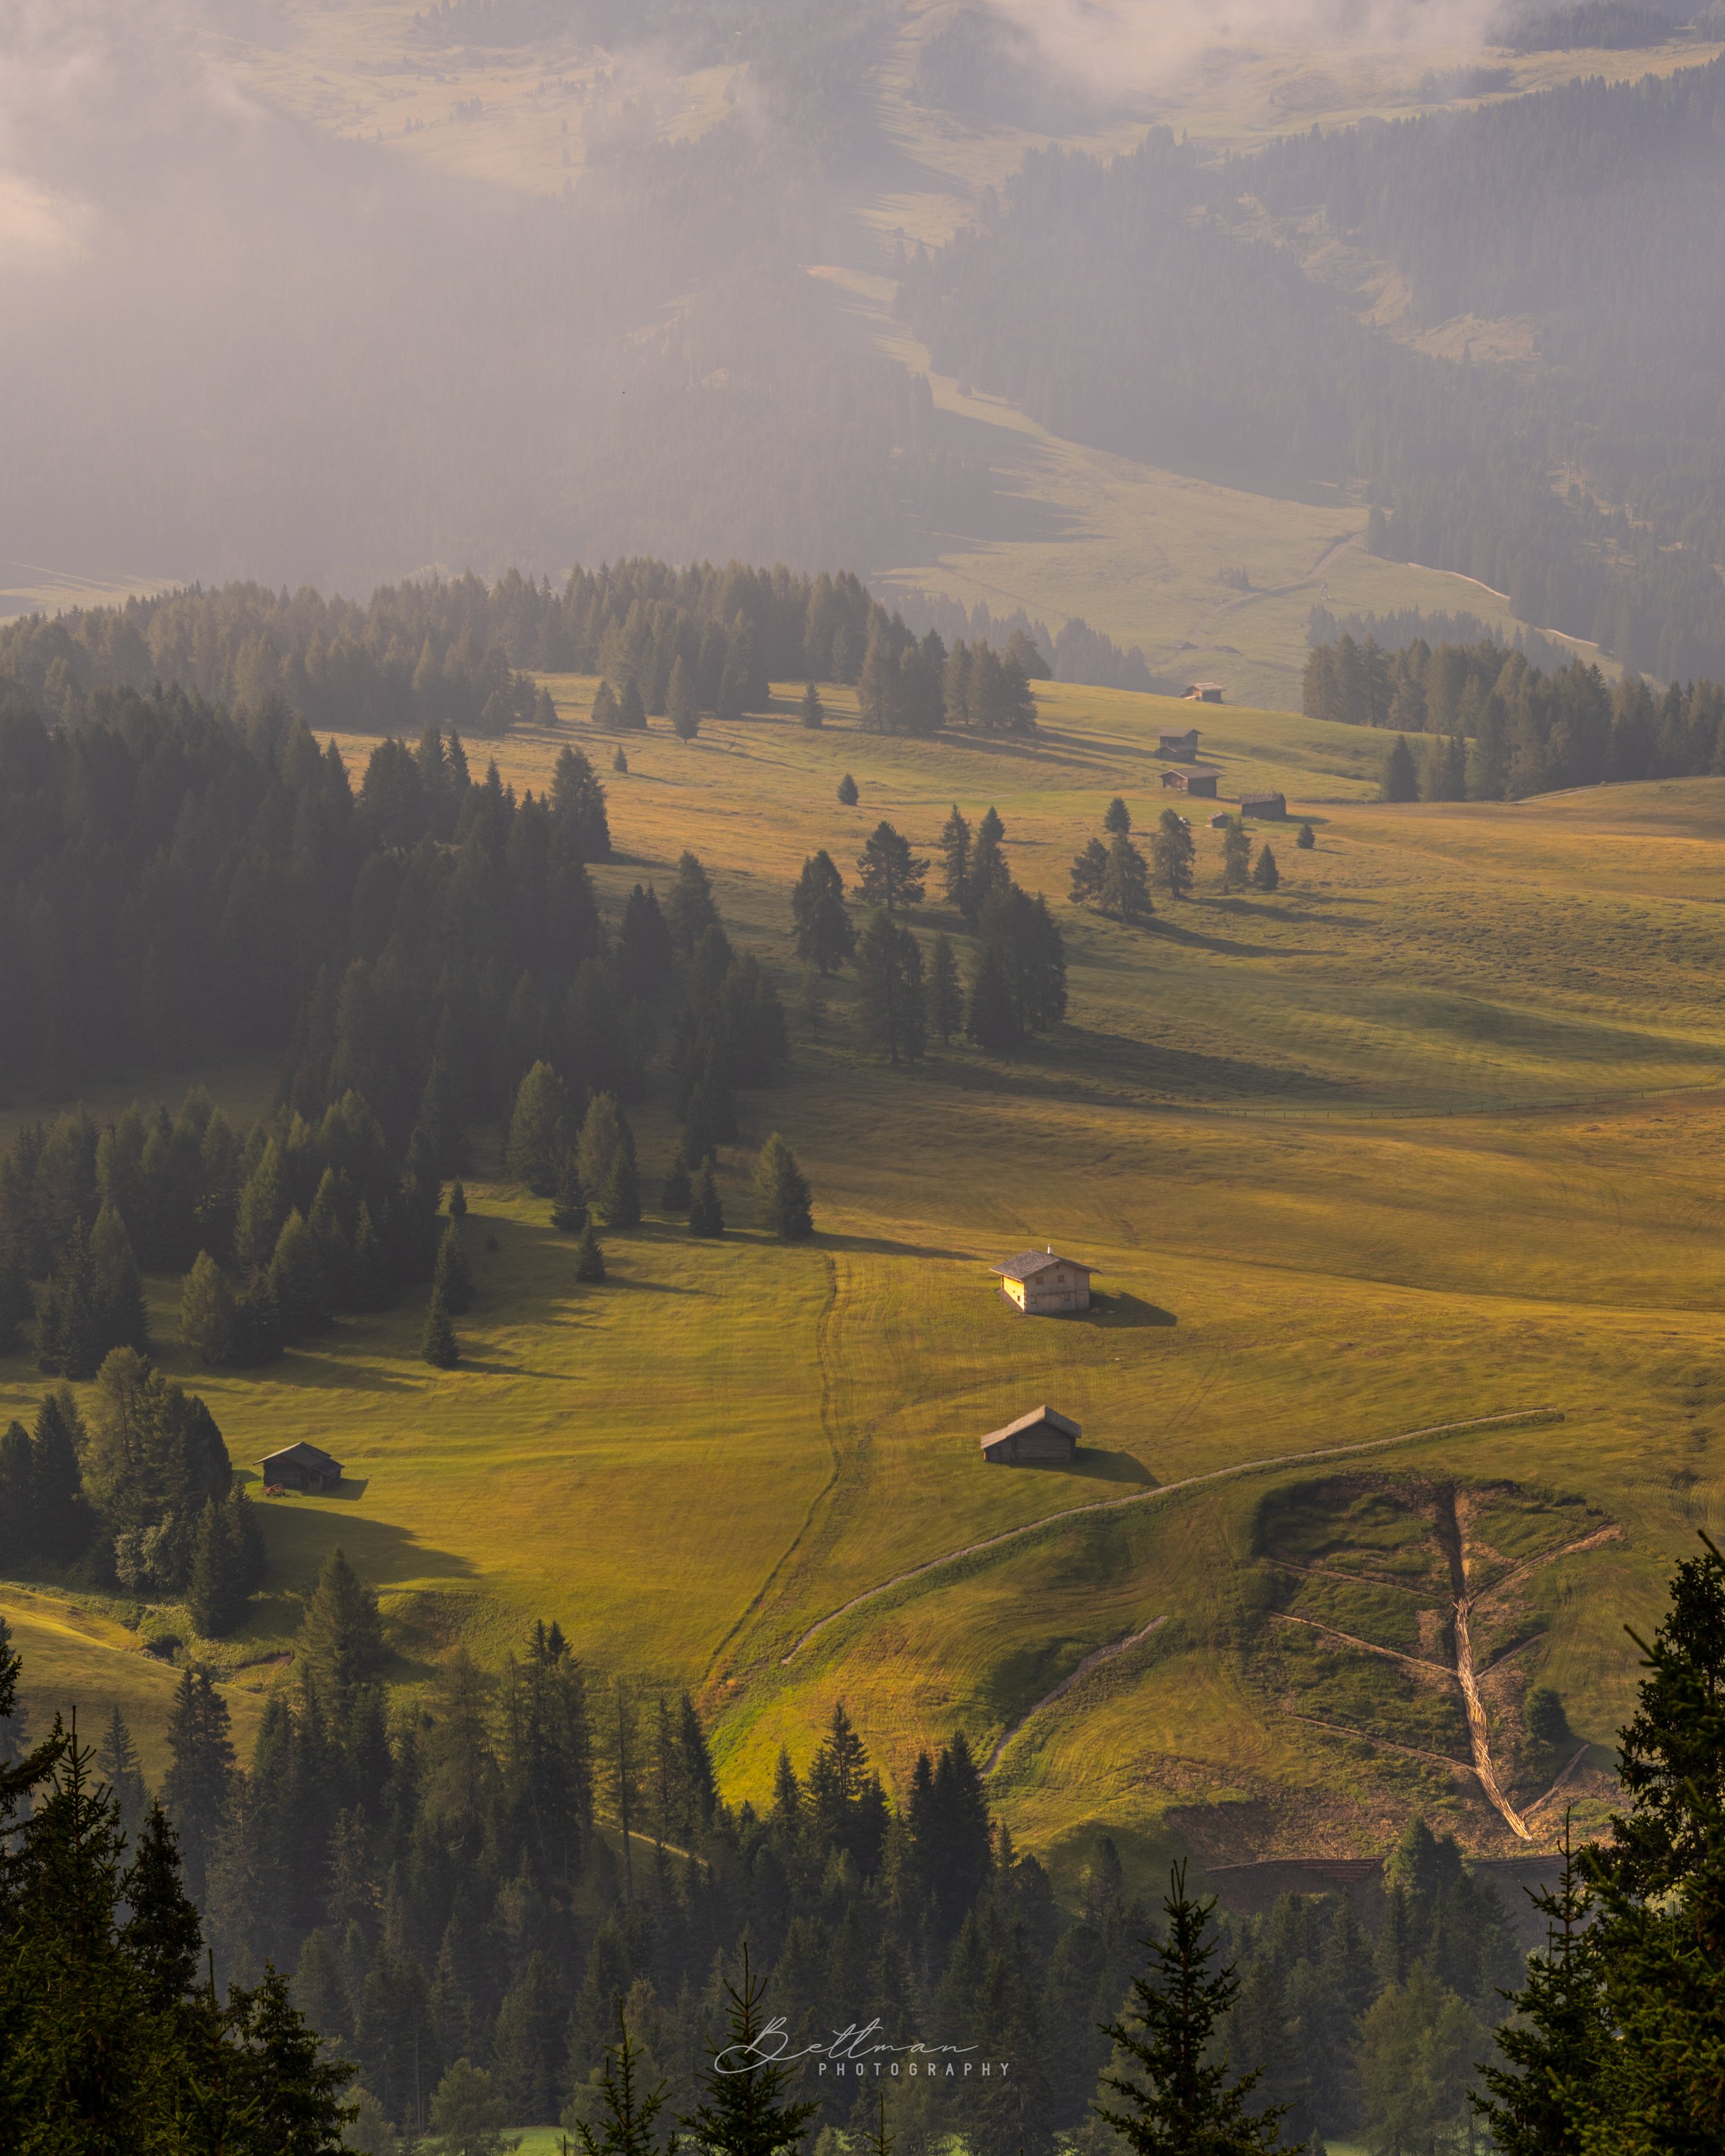
With these three lenses, I can photograph everything I want. I have the long lens (70-200 F2.8) for those intimate landscape shots of the mountain peaks (like the one above) and the wide angle and standard lens for just about everything else you can imagine to photograph while being in the most beautiful place on earth.
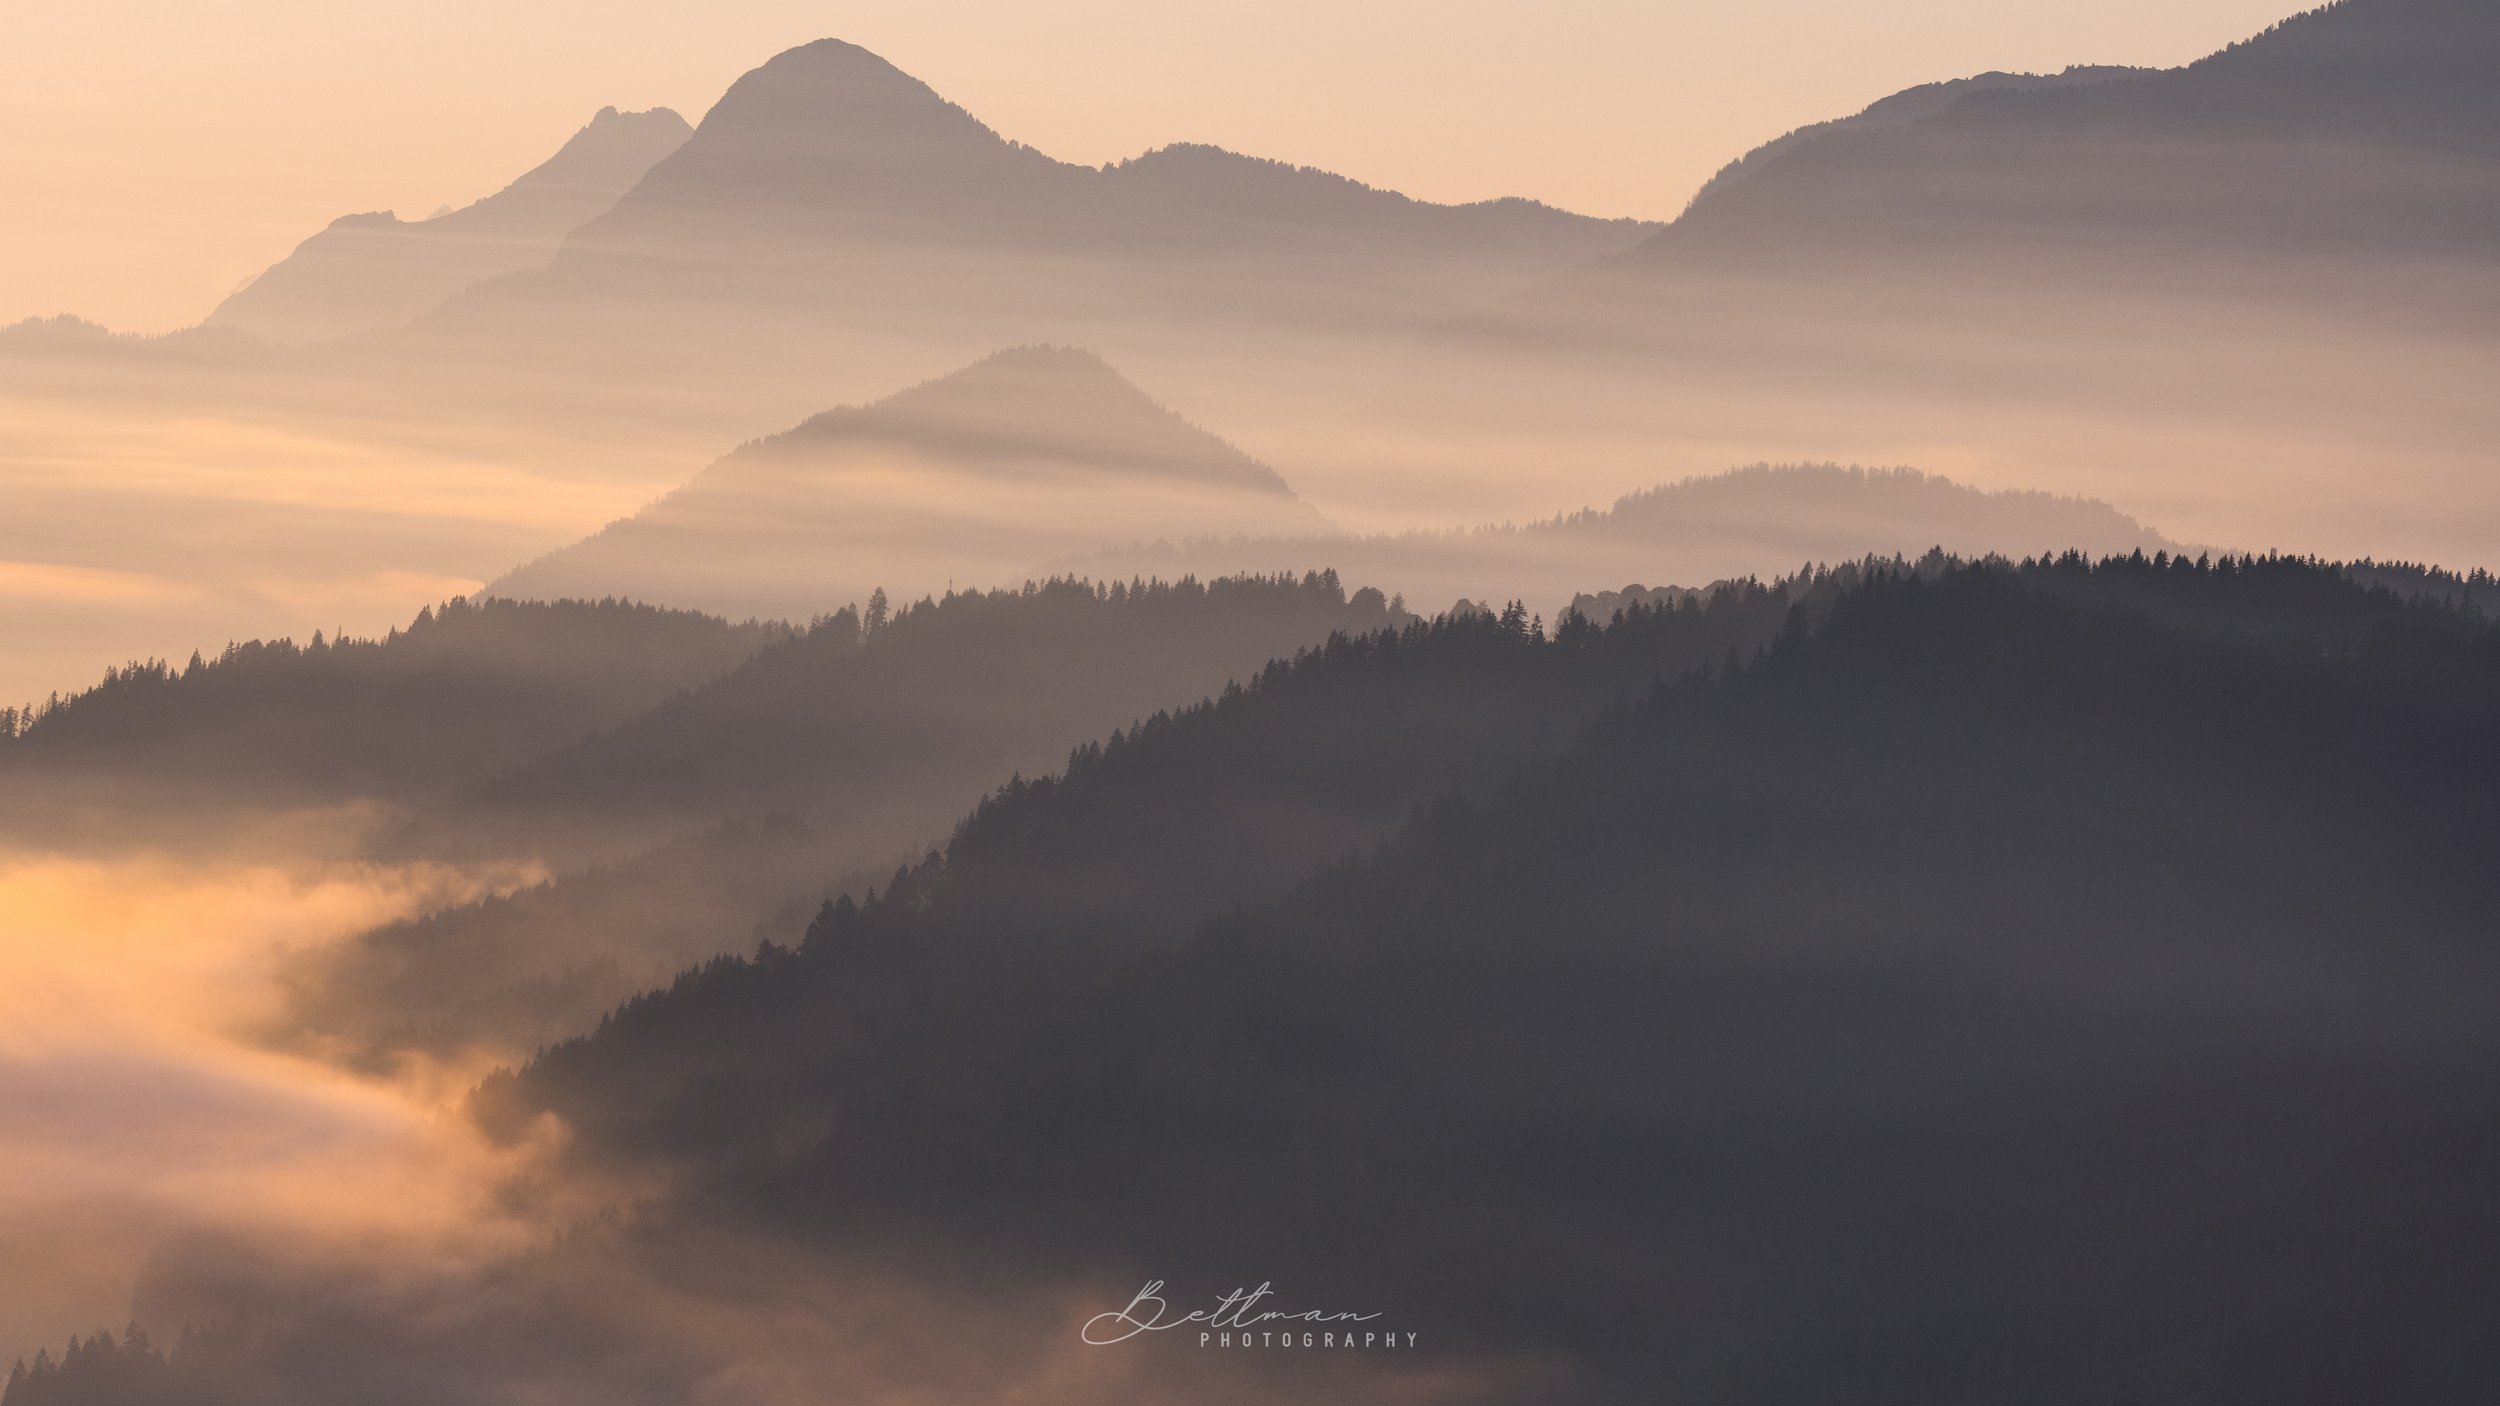
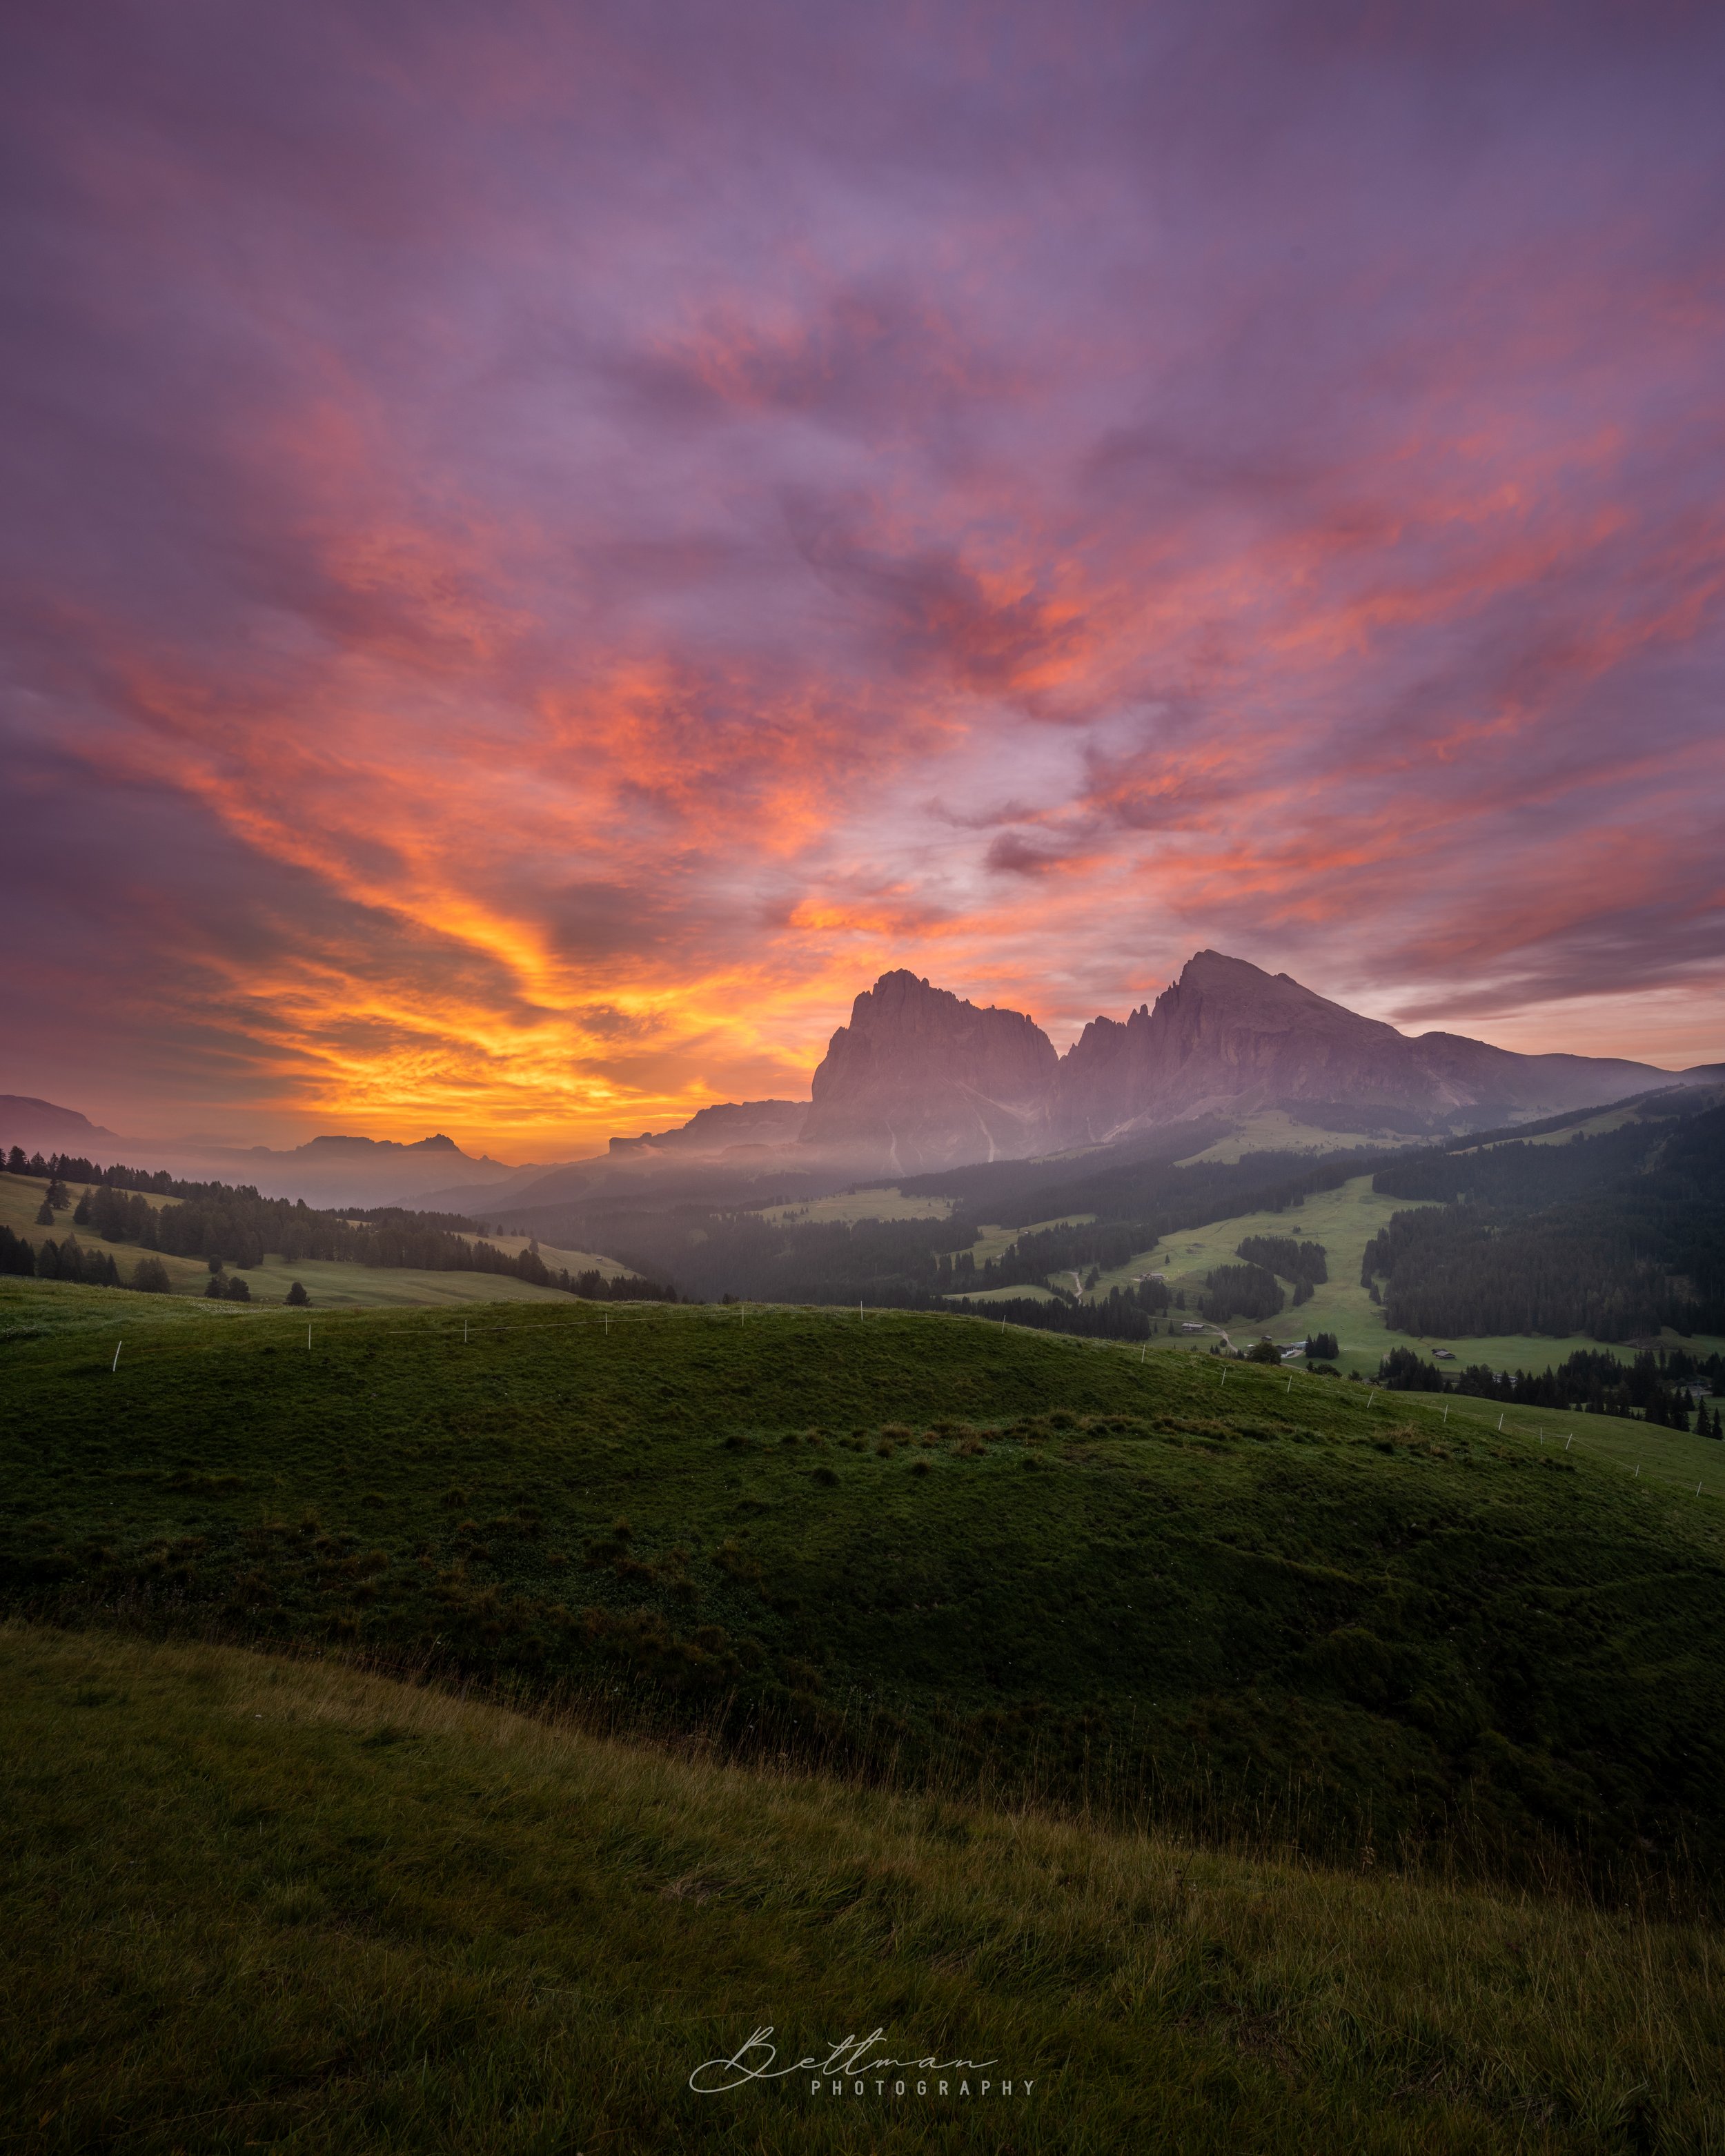
Below are some photos of the Dolomites I have taken on earlier trips.